
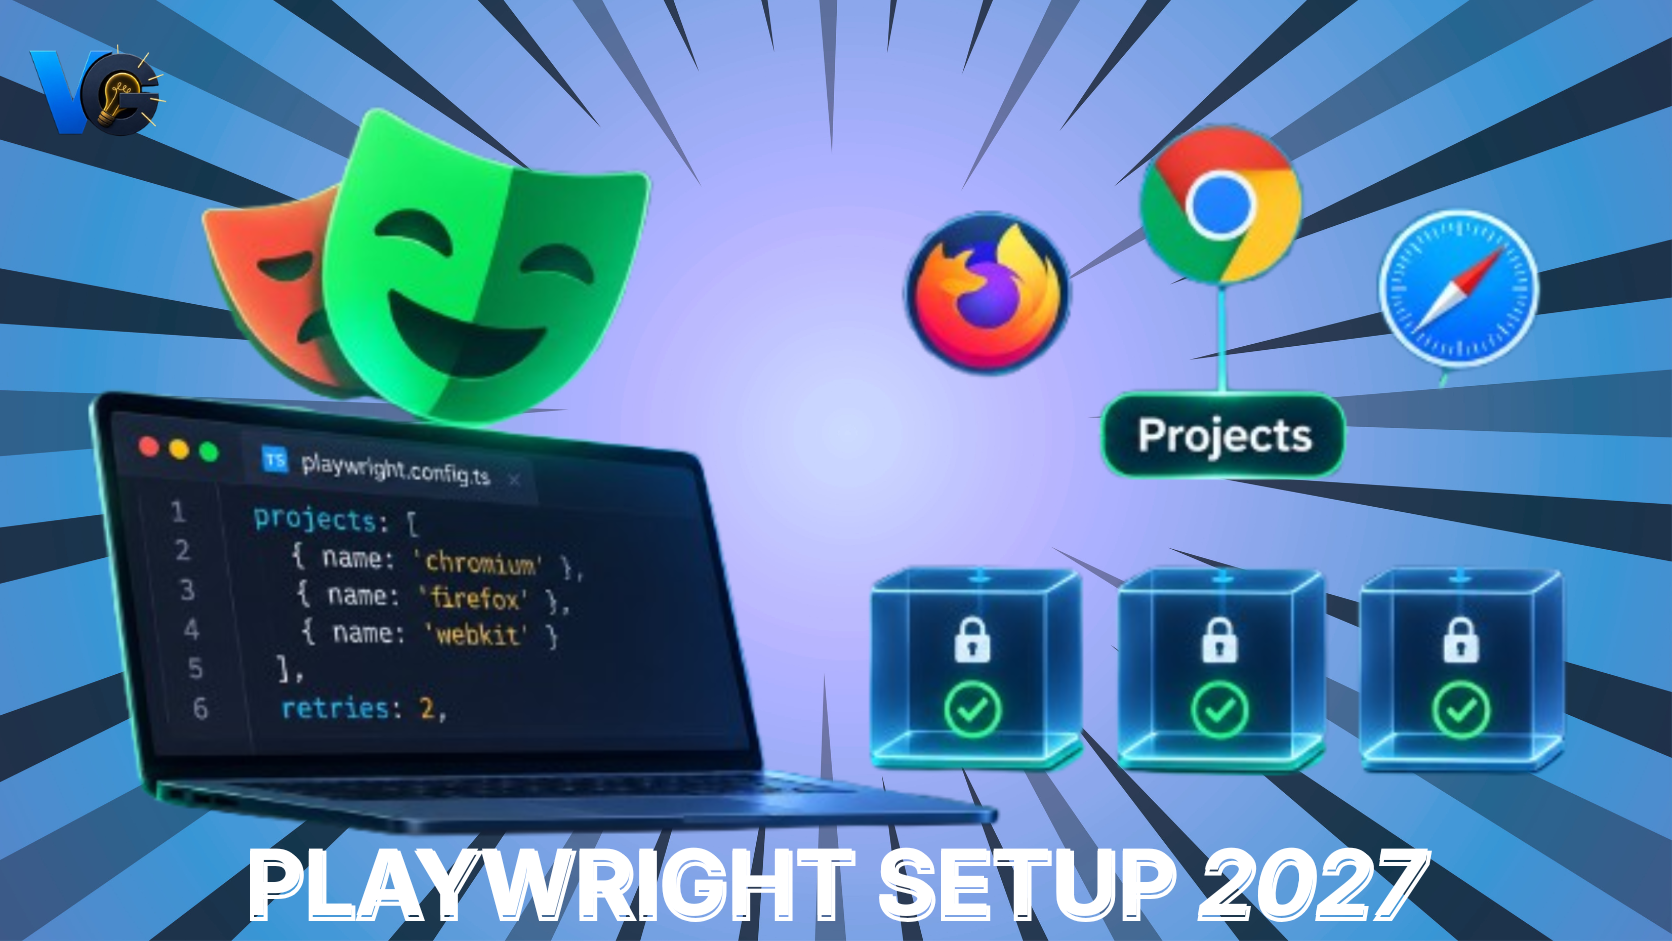
Playwright Setup 2027 – What Will You Read in This Blog?
- The 2027 Prerequisites: The exact Node.js version you need and the one-command setup that scaffolds a production-ready project.
- Anatomy of
playwright.config.ts: A line-by-line breakdown oftestDir,fullyParallel, retries, and the settings that actually matter for CI. - Projects Demystified: How to run Chromium, Firefox, and WebKit in parallel without writing duplicate tests.
- Test Isolation That Actually Works: Why browser contexts are the secret to eliminating flaky, order-dependent test failures.
- The “Setup Project” Pattern: How to handle authentication once and reuse it across every test, securely.
- A Copy-Paste Production Config: A battle-tested configuration template you can drop into any repository today.

The Modern Playwright Setup (2027 Edition)
Most Playwright tutorials stop at npm init playwright. That gets you a running test, but it does not give you a maintainable framework. In 2027, the gap between a “working” setup and a “production” setup is defined by three things: configuration discipline, project structure, and test isolation.
This guide closes that gap.
Step 1: Prerequisites and the Only Install Command You Need
Playwright is a Node.js library, but the version matters. While older guides mention Node 18, the current Playwright installation guide recommends Node.js 20 or newer for full compatibility with modern CI runners and TypeScript tooling. Using an older runtime is the first source of silent failures in enterprise environments.
Once Node is confirmed, do not manually install @playwright/test and configure folders by hand. Run the official initializer:
npm init playwright@latestThis wizard does more than generate a config file. It creates a tests/ directory, writes a sample spec, generates playwright.config.ts, and optionally installs browser binaries and a GitHub Actions workflow. For a team lead, this is the fastest way to enforce a consistent starting point across every new repository.
Step 2: Understanding playwright.config.ts (The Settings That Matter)
The generated config is intentionally minimal. A production configuration needs to control parallelism, retries, timeouts, and reporting. Here is the core of a battle-tested config, adapted from community best practices for 2027:
import { defineConfig, devices } from '@playwright/test';

export default defineConfig({
  testDir: './e2e',
  fullyParallel: true,
  forbidOnly: !!process.env.CI,
  retries: process.env.CI ? 2 : 0,
  workers: process.env.CI ? '50%' : undefined,
  reporter: process.env.CI
    ? [['html', { open: 'never' }], ['github']]
    : [['html', { open: 'on-failure' }]],
  timeout: 30_000,
  expect: { timeout: 5_000 },
  use: {
    baseURL: process.env.BASE_URL || 'http://localhost:4000',
    trace: 'on-first-retry',
  },
  projects: [
    { name: 'chromium', use: { ...devices['Desktop Chrome'] } },
    { name: 'firefox', use: { ...devices['Desktop Firefox'] } },
    { name: 'webkit', use: { ...devices['Desktop Safari'] } },
  ],
});
Why these specific settings?
testDir: './e2e'keeps test discovery scoped and fast. The PlaywrightTestConfigdocumentation explicitly tiestestDirto how tests are collected, so pointing it at a dedicated folder prevents accidental execution of unit tests or scripts.fullyParallel: truetells Playwright to run individual tests within a file in parallel, not just separate files. This is the difference between a 10-minute CI run and a 2-minute CI run.retries: 2only on CI prevents local development from hiding flakiness behind automatic retries. Locally, you want to see the failure; on CI, you want the pipeline to be resilient.trace: 'on-first-retry'is the most important debugging decision in the config. It captures a full trace only when a test fails and is retried, giving you the Trace Viewer data you need without bloating artifacts on every green run.
Step 3: Projects, One Suite, Every Browser
The projects array is Playwright’s answer to the “do I need three separate test folders?” problem. Each project inherits the top-level configuration but can override browser, viewport, and even testMatch rules.
The configuration above runs every test in Chromium, Firefox, and WebKit without duplicating a single line of test code. For early-stage development, run npx playwright test --project=chromium to get feedback in seconds. For pre-release validation, run all three projects to catch browser-specific CSS or JavaScript regressions.
A critical pattern for real teams: Use a Setup Project for authentication. Instead of logging in through the UI before every test (slow and flaky), create a setup project that authenticates once and saves the storage state. Browser projects then declare a dependencies: ['setup'] relationship, ensuring the auth file exists before any test runs.
Step 4: Test Isolation, The Reason Your Tests Should Never Share State
If you remember one concept from this guide, make it this: Playwright creates a brand-new browser context for every single test by default .
A browser context is an isolated, incognito-like profile. It has its own cookies, localStorage, and sessionStorage. Two tests running in parallel even within the same browser process cannot leak state into each other.
This matters because test isolation is not a nice-to-have; it is the foundation of reliable parallel execution. If Test A creates a user and Test B expects that user to exist, your suite is now order-dependent. The moment you enable fullyParallel, it breaks. Playwright’s default context model forces you to write tests that create their own preconditions, which is the only way to scale a suite beyond a handful of specs.
One advanced exception: If you have a multi-user scenario (like an admin approving a user), you can create multiple contexts within a single test using the browser fixture. Each context remains isolated, but your test can orchestrate interactions between them.
Frequently Asked Questions
Does Playwright require TypeScript?
No. Playwright supports JavaScript and TypeScript. The initializer asks you to choose. TypeScript is recommended for larger suites because it provides type safety for fixtures and configuration, but it is not mandatory.
Can I reuse authentication state without logging in every time?
Yes. Use a setup project that performs login once and saves storageState. Browser projects then reuse that state via the storageState option, keeping tests fast and isolated.
What is the minimum Node.js version for Playwright in 2027?
The current installation documentation recommends Node.js 20 or newer. Node 18 may still work with older versions, but for full feature and CI compatibility, use Node 20+.
What’s Next in This Series?
In Part 2, we move from configuration to test authoring. You will learn the Locator API, web-first assertions, and the beforeEach hooks that keep your specs readable without reintroducing the flakiness we just eliminated at the infrastructure level.
Watch the companion video: Playwright Installation & Setup (embedded above) walks through the initializer and config file live.
Read more blogs like this: Blogs